
Polishing an Aluminum Trailer
A Step-By-Step Guide to a Mirror Finish
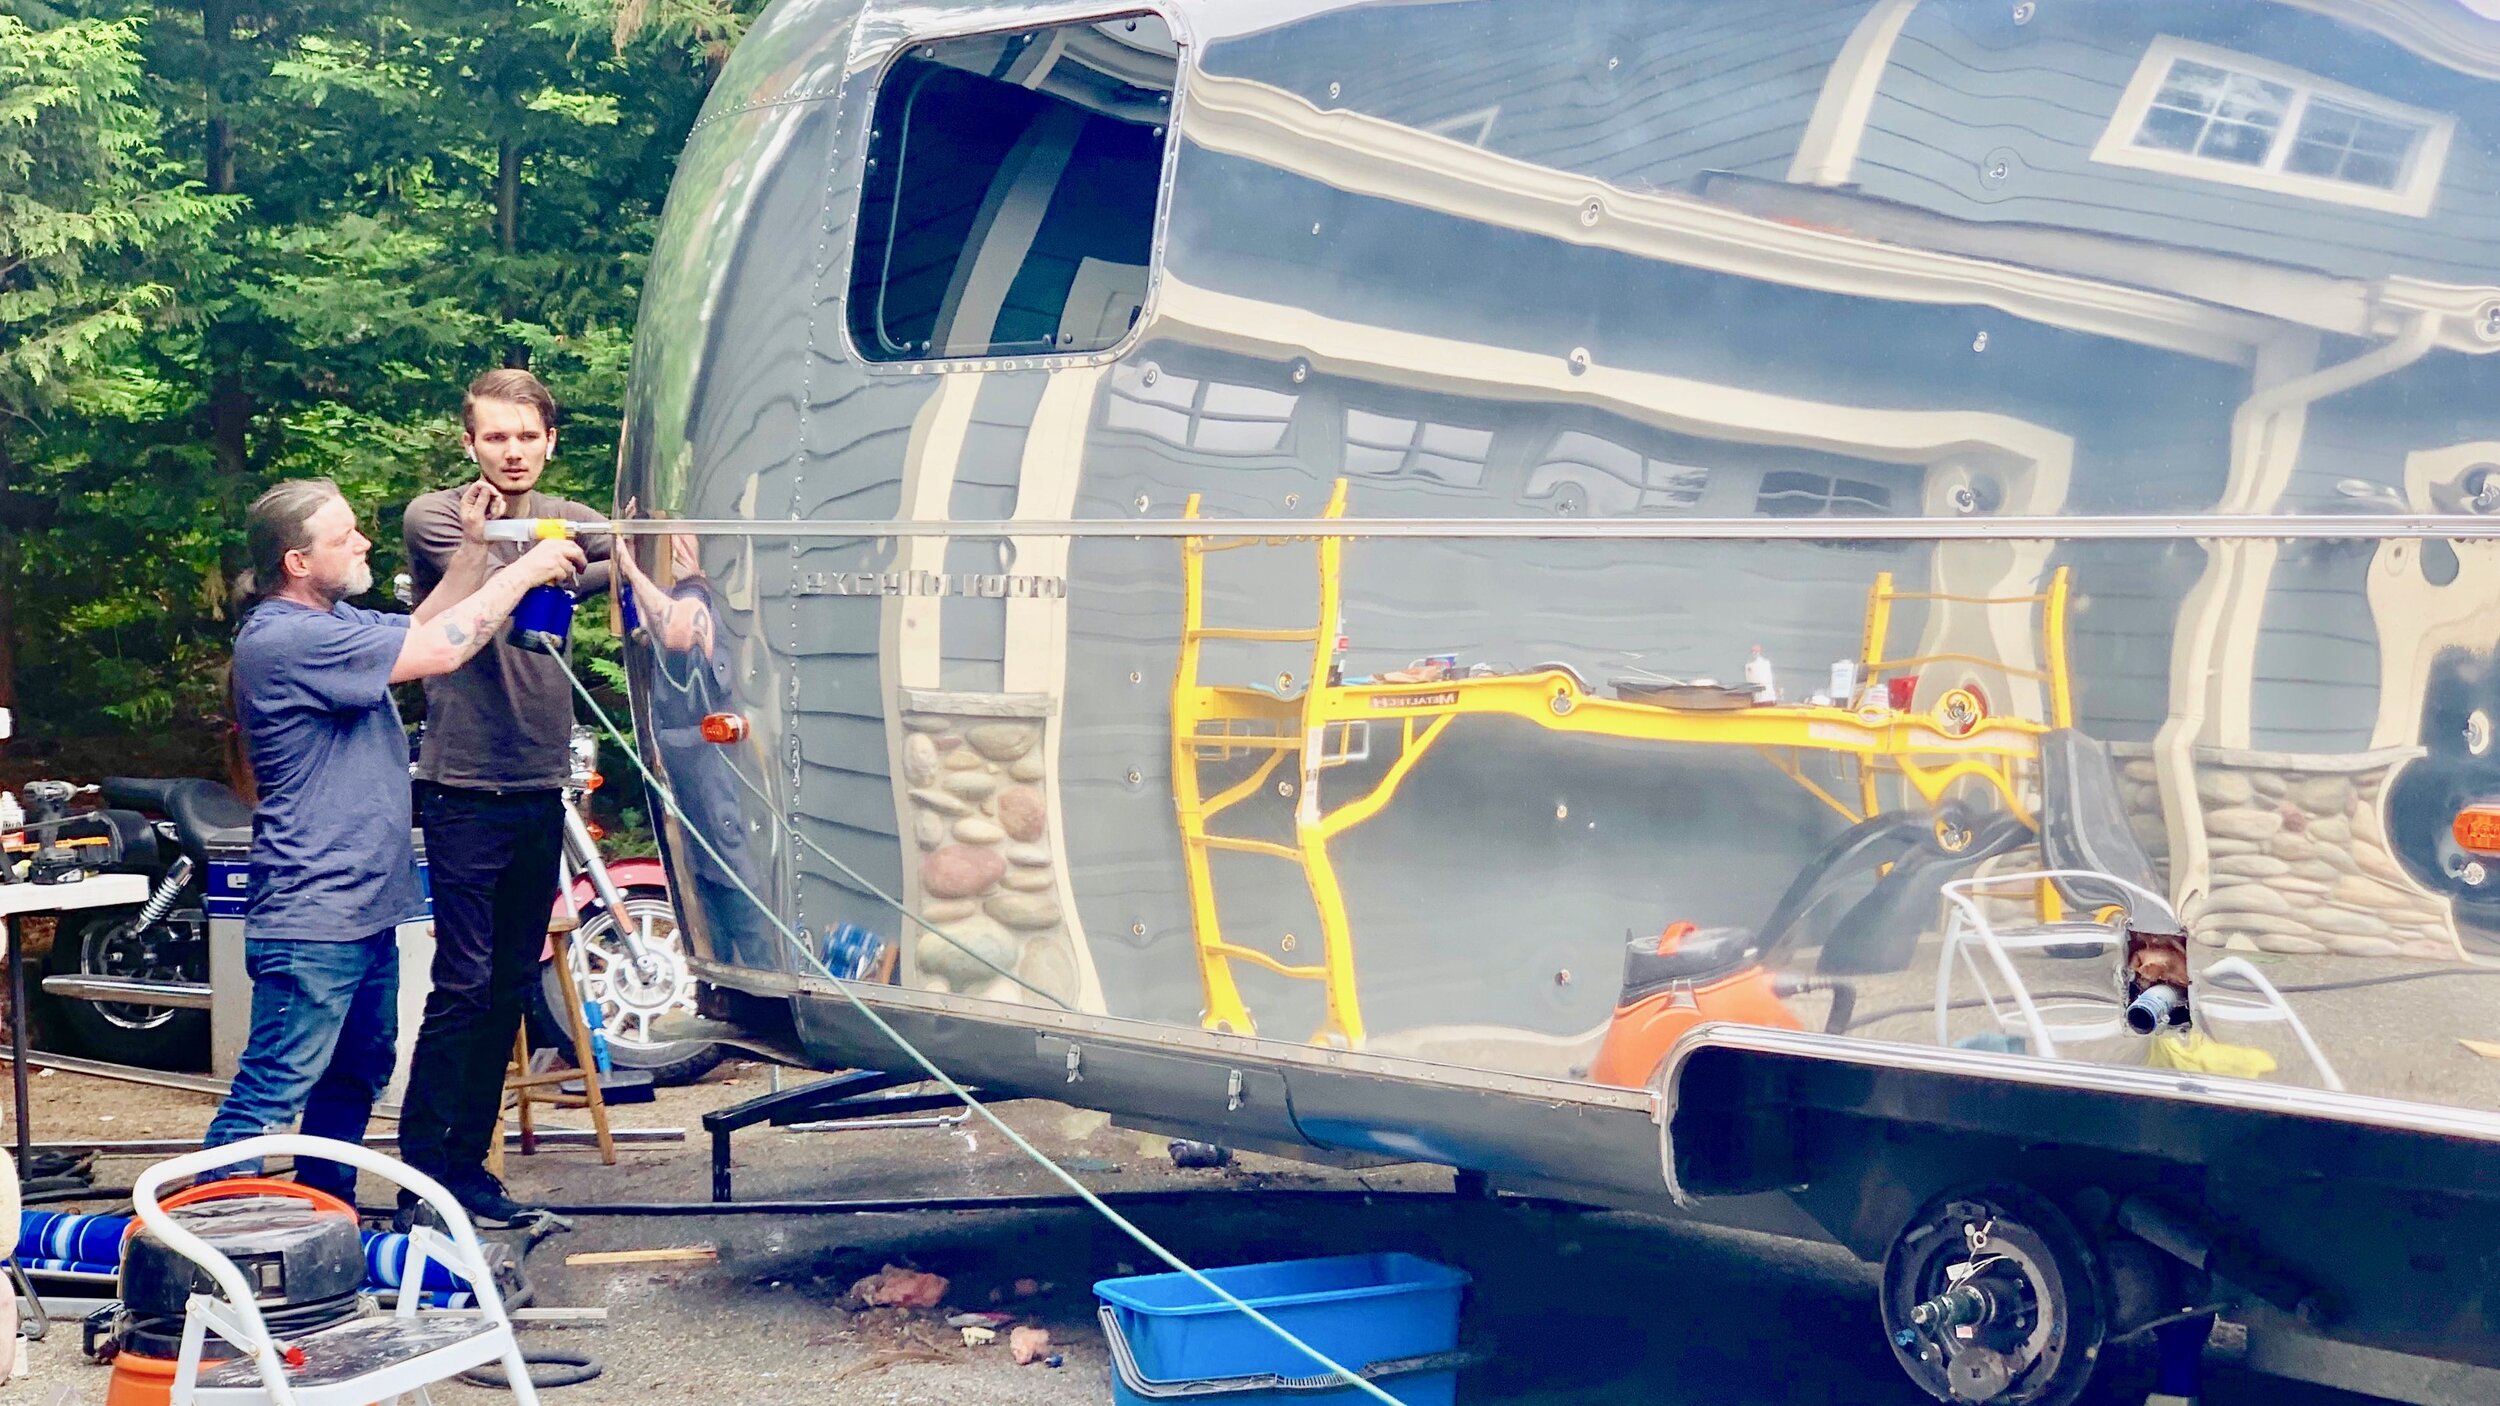
Replacing parts on the Excella
Introduction
There are a lot of how resources on the web about polishing an aluminum trailer. It’s a time consuming, physically challenging, and dirty job. When we started the polishing job on our first Airstream, Little House 2, we watched a lot of videos, talked to a lot of people including manufacturers, and engaged in a lot of trial and error. Almost 400 hours later, we achieved a mirror finish on the 1993 Excella.
A Word of Caution
Note that this guide does not include every step we take in polishing an Airstream or other aluminum trailers. We’ll post more details and links later on. This is just a basic overview to get you started thinking about the process.
Weather
Weather matters. A lot.
Leaving your trailer exposed to the elements when there is a risk of rain is not a good idea. Every raindrop will leave a mark on the surface that you’ll have to polish out later. If you don’t have a shop to polish in, use a cover over your trailer when you’re not polishing.
Depending on the time of day and the sunlight, your results will appear different. Look at the trailer from lots of different angles and in different light conditions. What looks great from one angle before the sun fully rises may look like not great from a different angle in full sun.
Finally, do the polishing project in the spring or fall if you live in a really hot climate. Intense summer heat above 90 degrees will cause the Zephyr rouge to perform poorly and you’ll end up fighting the buffer and the aluminum surface to get a good result.
Step One: Remove Parts
Remove all the parts riveted to your trailer. This includes all badges, running lights, the awning, and trim pieces. Store everything in a safe place with labels. We remove everything for a few reasons.
We want to remove the clear coat that is under all those parts. The only way to do that is to remove all the parts. Seems obvious, but a lot of people publish polishing videos with all those parts still on the trailer.
There’s dirt and mold and oxidation under all those parts. We want to clean all that up.
Step Two: Strip the Clear Coat
Removing the clear coat is a tricky job. There are lots of opinions about which chemicals to use. We use Kleen Strip Aircraft Paint Remover and a 4,000 PSI pressure washer. If you’re going to do this as a DIY project, read the instructions on the Kleen Strip carefully and follow them, especially the safety guidelines.
We strip the clear coat in 3 feet by 3 feet sections, one section at a time. Doing more than that results in the stripping chemical laying on the surface for too long.
Step Three: Wash the Trailer
Using a polishing compound on a dirty trailer simply grinds dirt into the aluminum. First, use a diluted solution of Aluma Brite and suit up. Again, wash the trailer in sections and after you spray on the solution, wash it off with a lot of clean water after about five minutes. Second, wash the trailer with a good, household cleaner. We use Dawn Platinum and rinse and dry the surface thoroughly.
Step Four: Polish
This is where the fun and the really hard work starts. We really recommend using Zephyr over any other polishing product. As you’re contemplating the magnitude of this job, this video from Zephyr is a really good overview.
Step Five: Wax
When you’ve completed the Zerpyr process and have the shine you want. wax the surface of your trailer with Walbernize. This will protect the finish.
Step Six: Put Everything Back
All the parts you removed in step one? Put them all back. Easy peasy.